Exporting Results
Everything a Run produces can leave the platform: the result rasters as GeoTIFFs, the map layers over standard OGC web services, and the scenario package itself so you can re-run the model anywhere. Nothing is locked in.
Download the scenario package
When a Scenario's latest Run is Complete, a download button appears in its action toolbar. Select the Scenario in the Scenarios panel, open its Run tab, and click the download button to save the scenario package as a zip file.
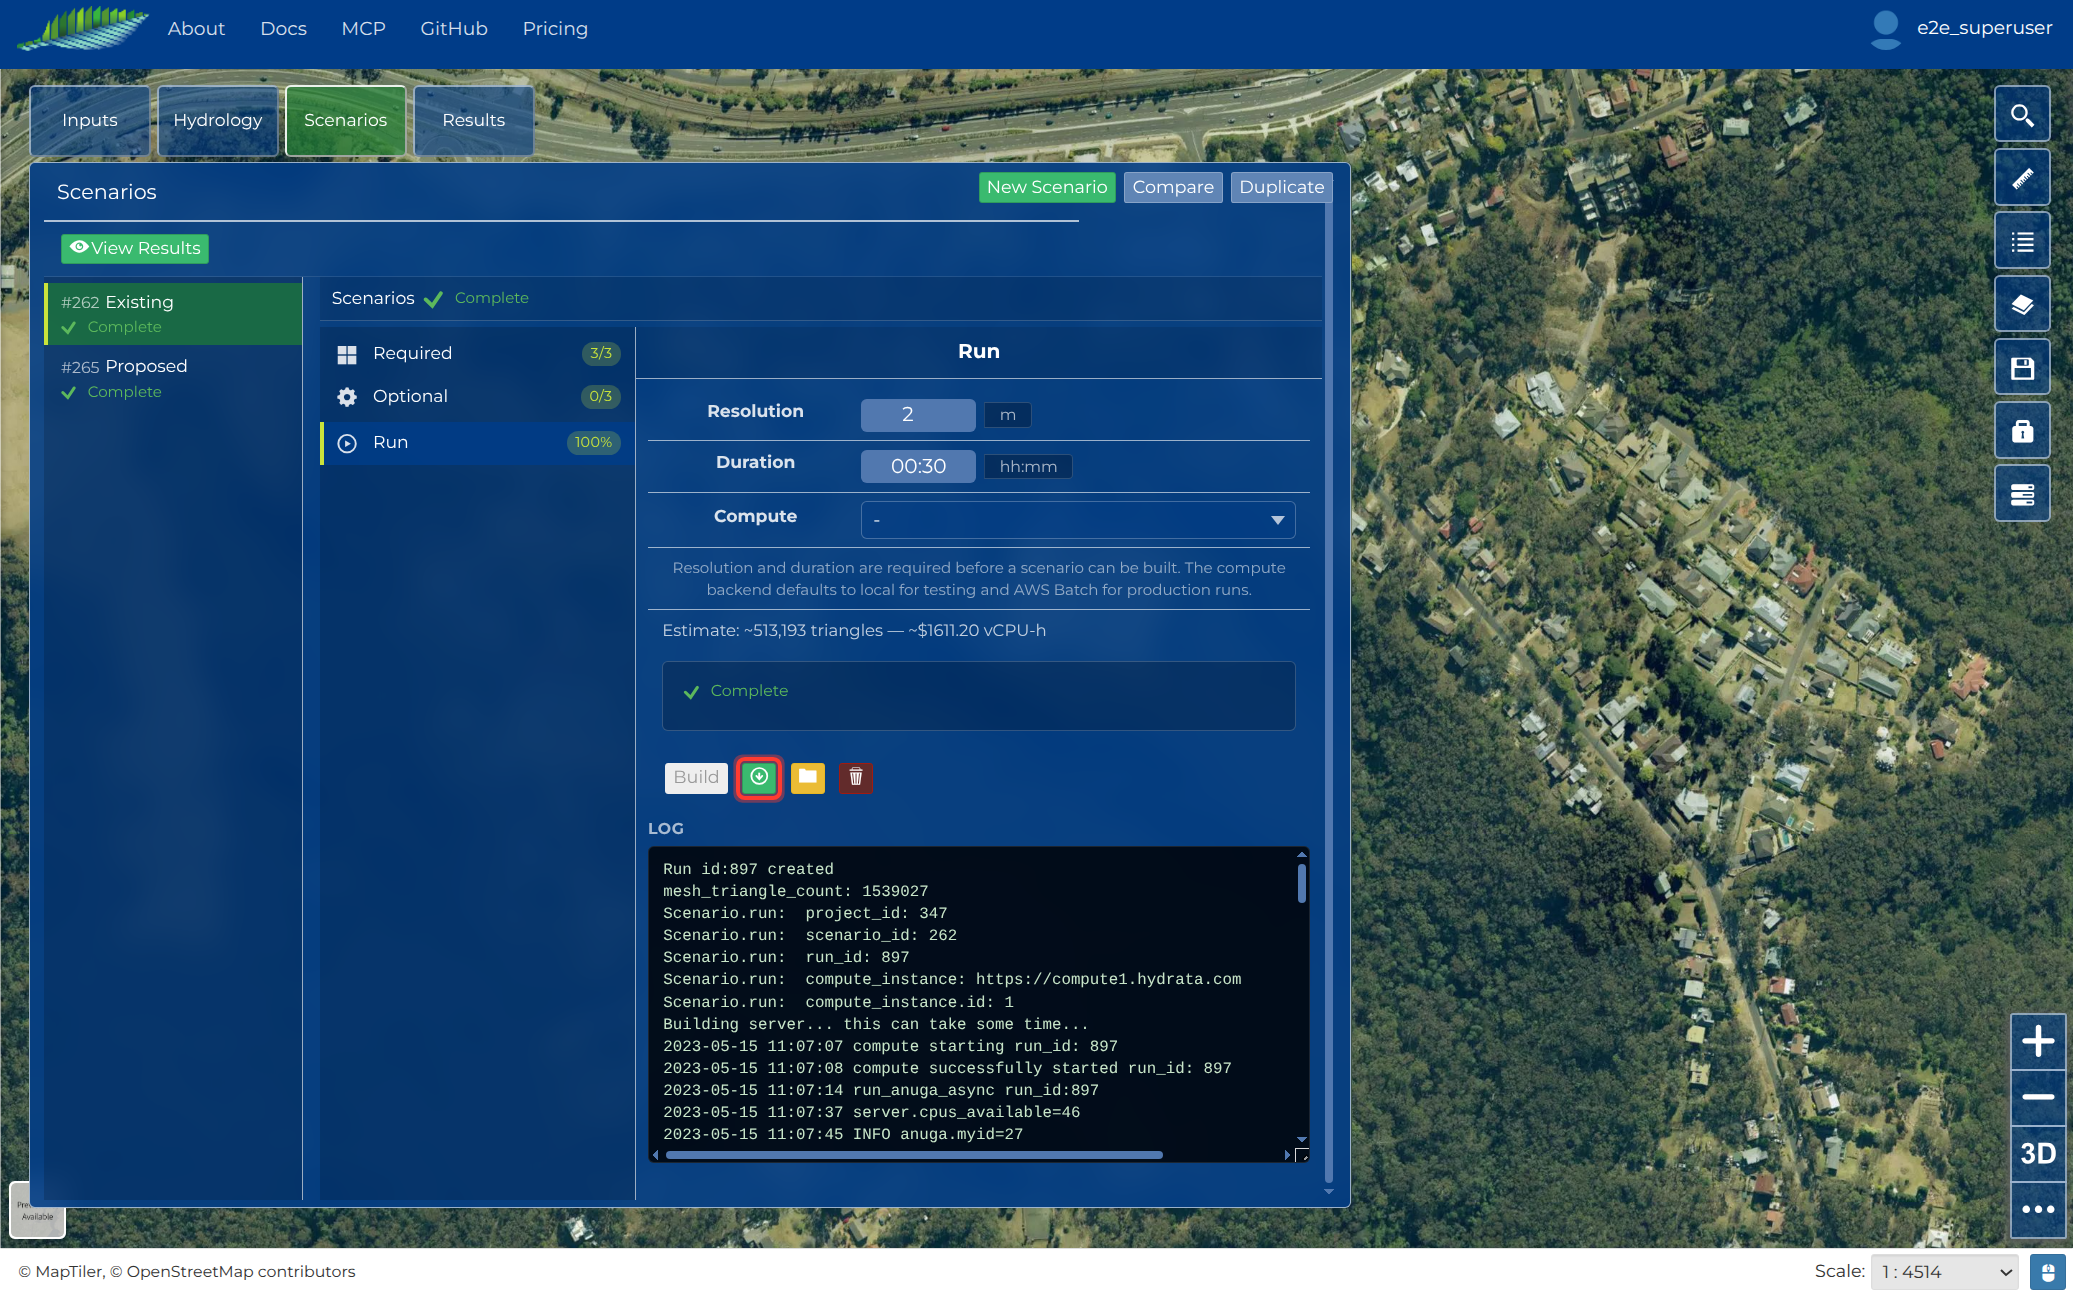
The scenario package is the exact, frozen set of inputs the Run consumed when it was built: the scenario.json configuration plus the trimmed elevation raster, boundary, inflow, and any other inputs you attached. See Package Format for the full directory layout.
This makes the package the right artifact for:
- Archiving and peer review: hand a reviewer one zip that fully defines the model.
- Running the model yourself: the package runs with the open-source
run_anugapackage, on your own machine or HPC. See Run ANUGA Yourself.
Note
The scenario package contains your model inputs, not the result rasters. Editing a Scenario after a Run does not change an already-built package; the next Build produces a new one.
Download result GeoTIFFs
Each result raster is available as a GeoTIFF through the Hydrata API. Authenticate with your Hydrata credentials, then fetch the Run record:
GET https://hydrata.com/api/v2/anuga/projects/<project_id>/runs/   # list a project's Runs
GET https://hydrata.com/api/v2/anuga/runs/<run_id>/                # one Run in detail
The Run record includes secure download links, valid for 24 hours (request the Run again for fresh links):
| Field | Contents |
|---|---|
s3_depth_max_url |
Maximum depth GeoTIFF (metres) |
s3_velocity_max_url |
Maximum velocity GeoTIFF (m/s) |
s3_depth_integrated_velocity_max_url |
Maximum momentum GeoTIFF (m²/s) |
s3_result_package_url |
The complete result files as one zip |
s3_package_url |
The scenario package (same artifact as the download button above) |
The complete result files include everything the simulation wrote, not just the three published layers:
- the SWW file (ANUGA's native NetCDF format with the full time series)
- one GeoTIFF per output timestep for depth, velocity, momentum, and stage
- the four maximum rasters (including stage max, which is not published as a map layer)
- the simulation log
Useful details when loading the GeoTIFFs into GIS software:
- Nodata is NaN, not a sentinel value like -9999. Dry cells are NaN, and most GIS software renders them transparent automatically.
- Cell size matches your finest mesh resolution. If the Scenario used mesh regions, the rasters are gridded at the finest region's resolution; otherwise at the Scenario's base resolution.
- The CRS is your project's projected coordinate system, the same one the elevation data was supplied in.
Connect over OGC web services
Every published result layer is also served over OGC WMS, the same service that draws the map in your browser. You can add Hydrata as a layer source in QGIS, ArcGIS, or any OGC-capable client:
- WMS serves the result layers as rendered map images with their default flood styling, useful for report figures and web maps.
- WFS serves the project's vector layers (boundaries, inflows, structures, and other inputs) as features.
Access follows the same permissions as the map: layers in a private project require authentication, and layers in a public project are available to anyone with the link.
Note
WMS returns rendered images, not cell values. When you need the raw numbers (for damage curves, hazard classification, or your own styling), download the GeoTIFFs instead.
Re-run the model locally
Because the scenario package is portable and uses the same open-source ANUGA solver and pipeline, a local run of the downloaded package produces directly comparable results to the cloud run from the same inputs:
See Run ANUGA Yourself for installation and usage, and Cloud ANUGA for the solver integrity guarantee.