Create a New Project
Watch this step (0:27) in the overview video.
A project is the container for everything else: one coordinate system, one set of inputs, and as many Scenarios as you like. Creating it takes a few seconds, and uploading the tutorial terrain is the second half of this step.
Create the project
- Log in to hydrata.com
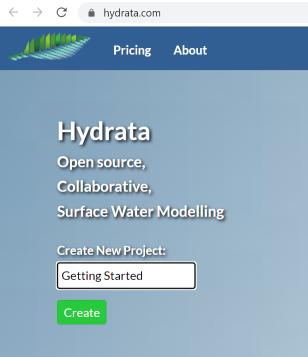
- The home page shows a Create New Project: field. Type a project name into it
- Click Create
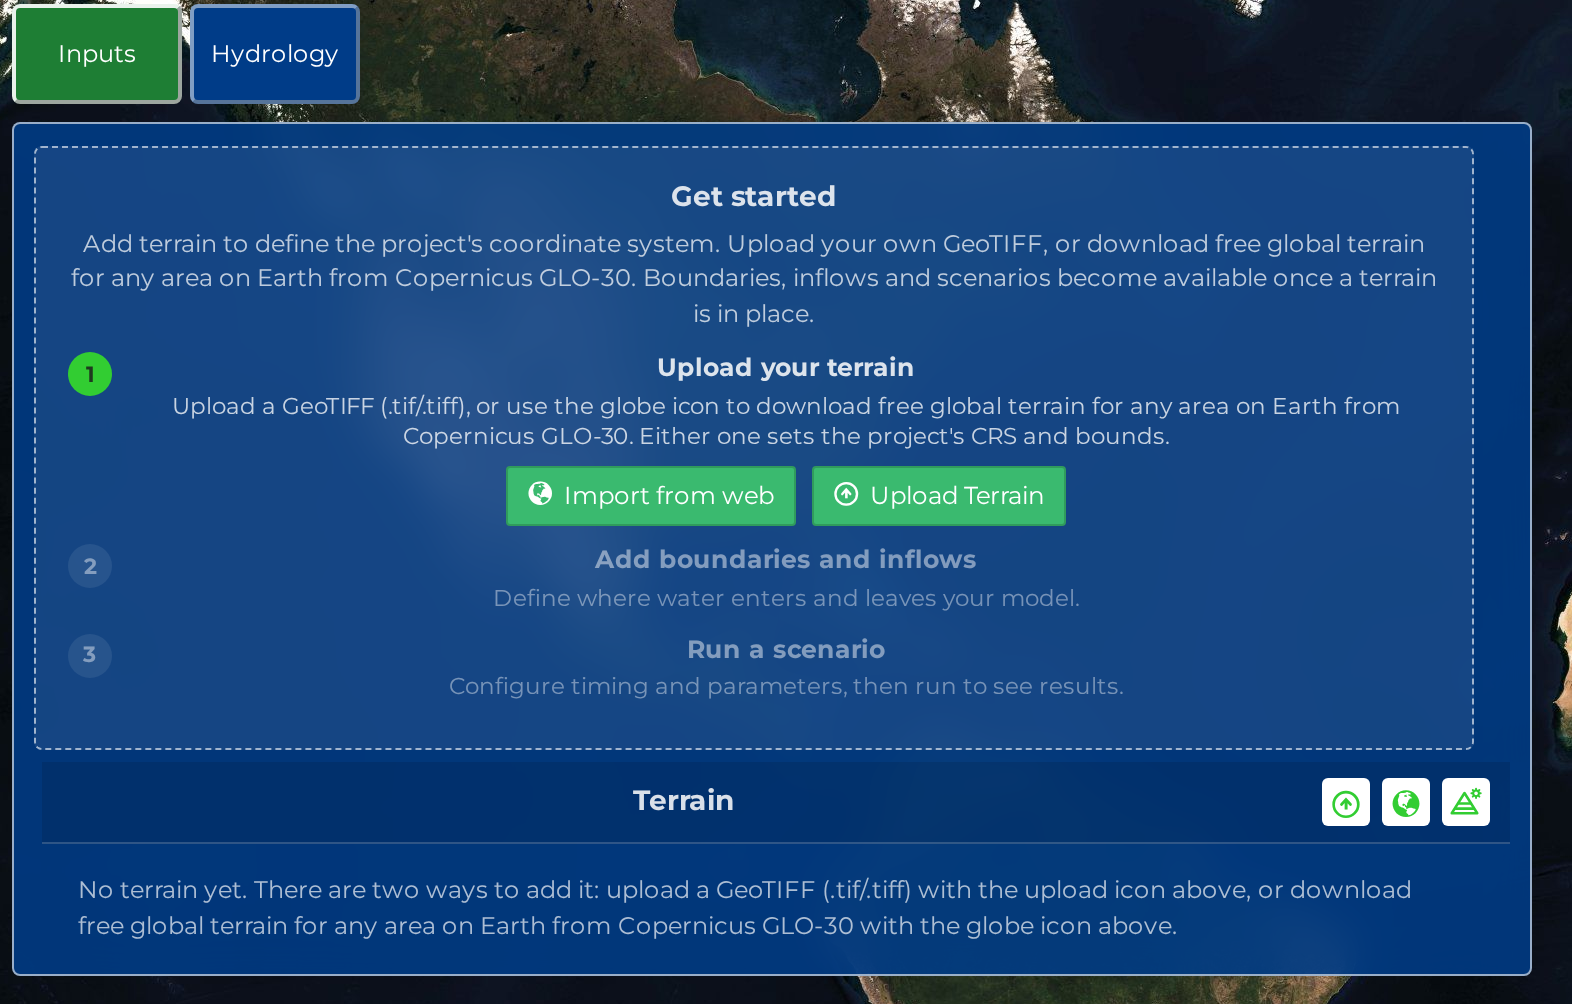
Hydrata opens the new project on the map, with only Inputs and Hydrology in the left toolbar. Open Inputs and a Get started card walks you through the first three moves. Terrain comes first, because it is the terrain that fixes the project's coordinate system: boundaries, inflows and Scenarios only become available once a terrain is in place, and the rest of the toolbar appears with it.
Add the terrain
The Inputs panel in the left toolbar has a Terrain section with two icons:
| Icon | Tooltip | What it does |
|---|---|---|
 Upload Upload |
Upload local DEM | Upload a GeoTIFF (.tif / .tiff) from your own machine |
 Globe Globe |
Download Global DEM | Fetch free global terrain for any area on Earth from Copernicus GLO-30 |
For the tutorial, use the upload icon and the file from Prerequisites. The next step uses the globe icon as well, so you will meet both.
Confirm the coordinate system and the vertical datum
Picking a file does not upload it straight away. Hydrata reads the file's header and opens Confirm terrain coordinate system, which asks for:
- Title: the name the terrain gets in the layer list
- Source CRS: pre-filled as Detected CRS when the file carries one. The tutorial tile is tagged EPSG:32737, so there is nothing to choose. A file with no coordinate system makes this field required
- Vertical datum of these heights: one of Ellipsoidal (WGS84 / GPS), EGM2008 (Mean Sea Level), or Not sure, plus an optional Convert to EGM2008 after upload tick box
Choose Ellipsoidal (WGS84 / GPS) for the tutorial tile: it is raw drone LiDAR, so its heights are above the ellipsoid. Leave Convert to EGM2008 after upload unticked. The next step is about that decision, and doing it there is the point.
Then click Confirm.
There is no description field
Only the title, the coordinate system and the vertical datum are asked for. Everything else about the raster is read from the file.
What gets created
Processing runs in the background and you can keep working. When it finishes, the terrain appears in the Terrain section of the Inputs panel with a rendered elevation layer on the map, and Hydrata has:
- warped the raster to the project's projected coordinate system, in metres
- measured its native resolution, its coverage and its nodata holes
- inferred the vertical datum and, if the heights look like ellipsoidal ones, attached a Check vertical datum badge to the terrain row
That badge is the subject of the next step. On the tutorial tile it is expected.
Next steps
Next: combine two terrains, where you add a second, wider terrain and deal with the two datums.