Set Up the Scenario
Watch this step (10:38) in the overview video.
Your project now holds everything a simulation needs. A Scenario gathers those inputs into one configuration and says at what resolution and for how long to simulate them.
Scenario and Run
A Scenario is the editable model configuration: which inputs to use, at what resolution, for how long. A Run is one compute attempt at a built Scenario. You can change a Scenario and run it again as many times as you like, and each Run keeps its own results.
Create the Scenario
- Click Hydraulics in the left toolbar. The panel it opens is headed Scenarios
- Click New in the strip of buttons at the top of the panel
- Type a name into the Name field, for example
Existing
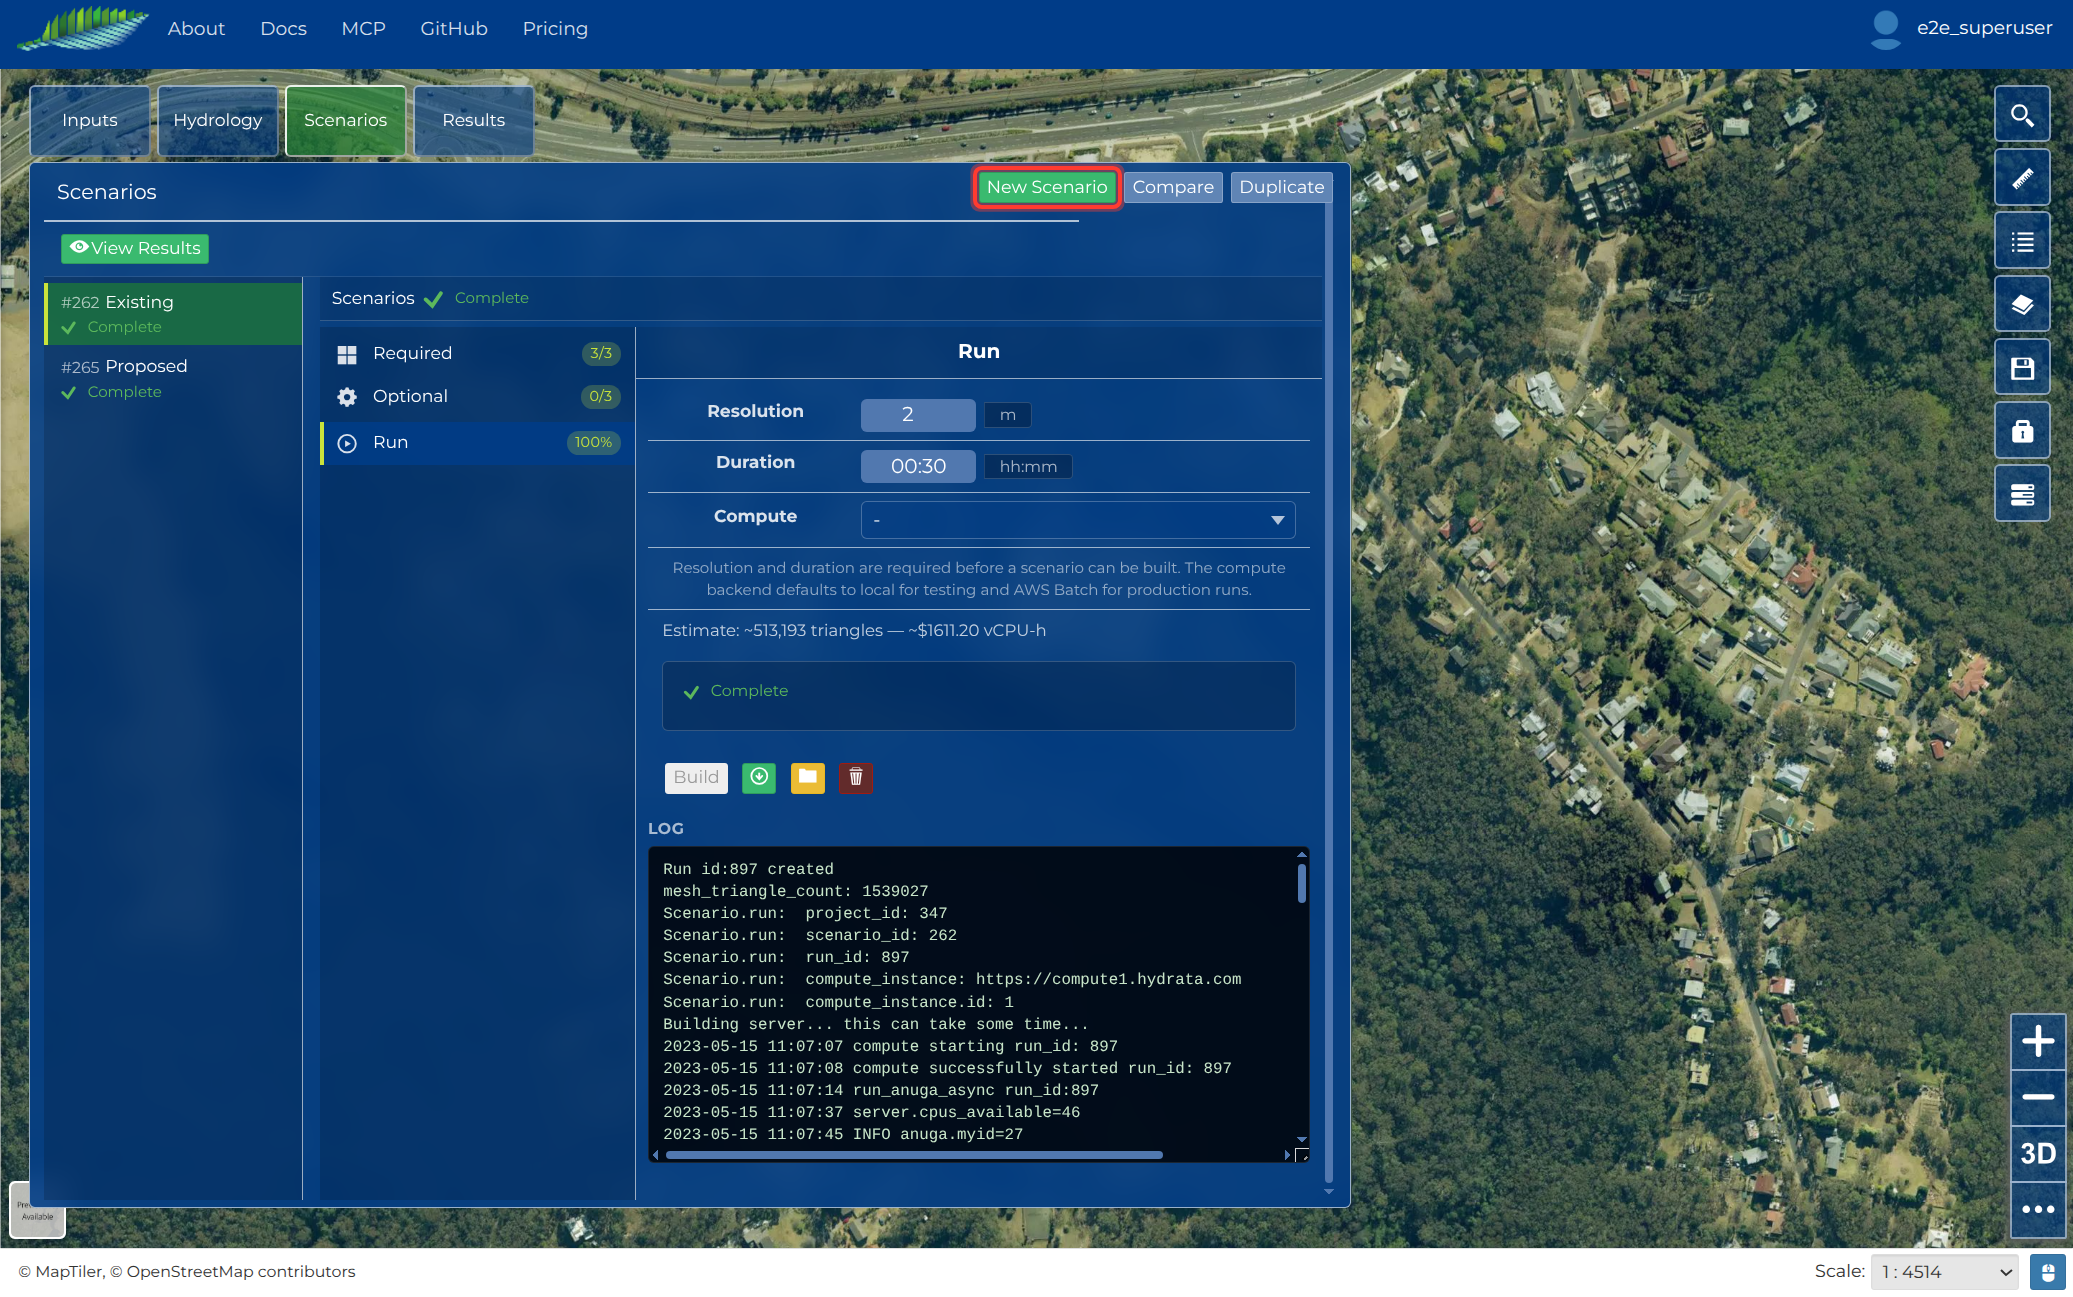
The Scenario detail has three collapsible sections: Required, Optional and Run settings. Each one shows how far through it you are, so you can tell at a glance what is still missing.
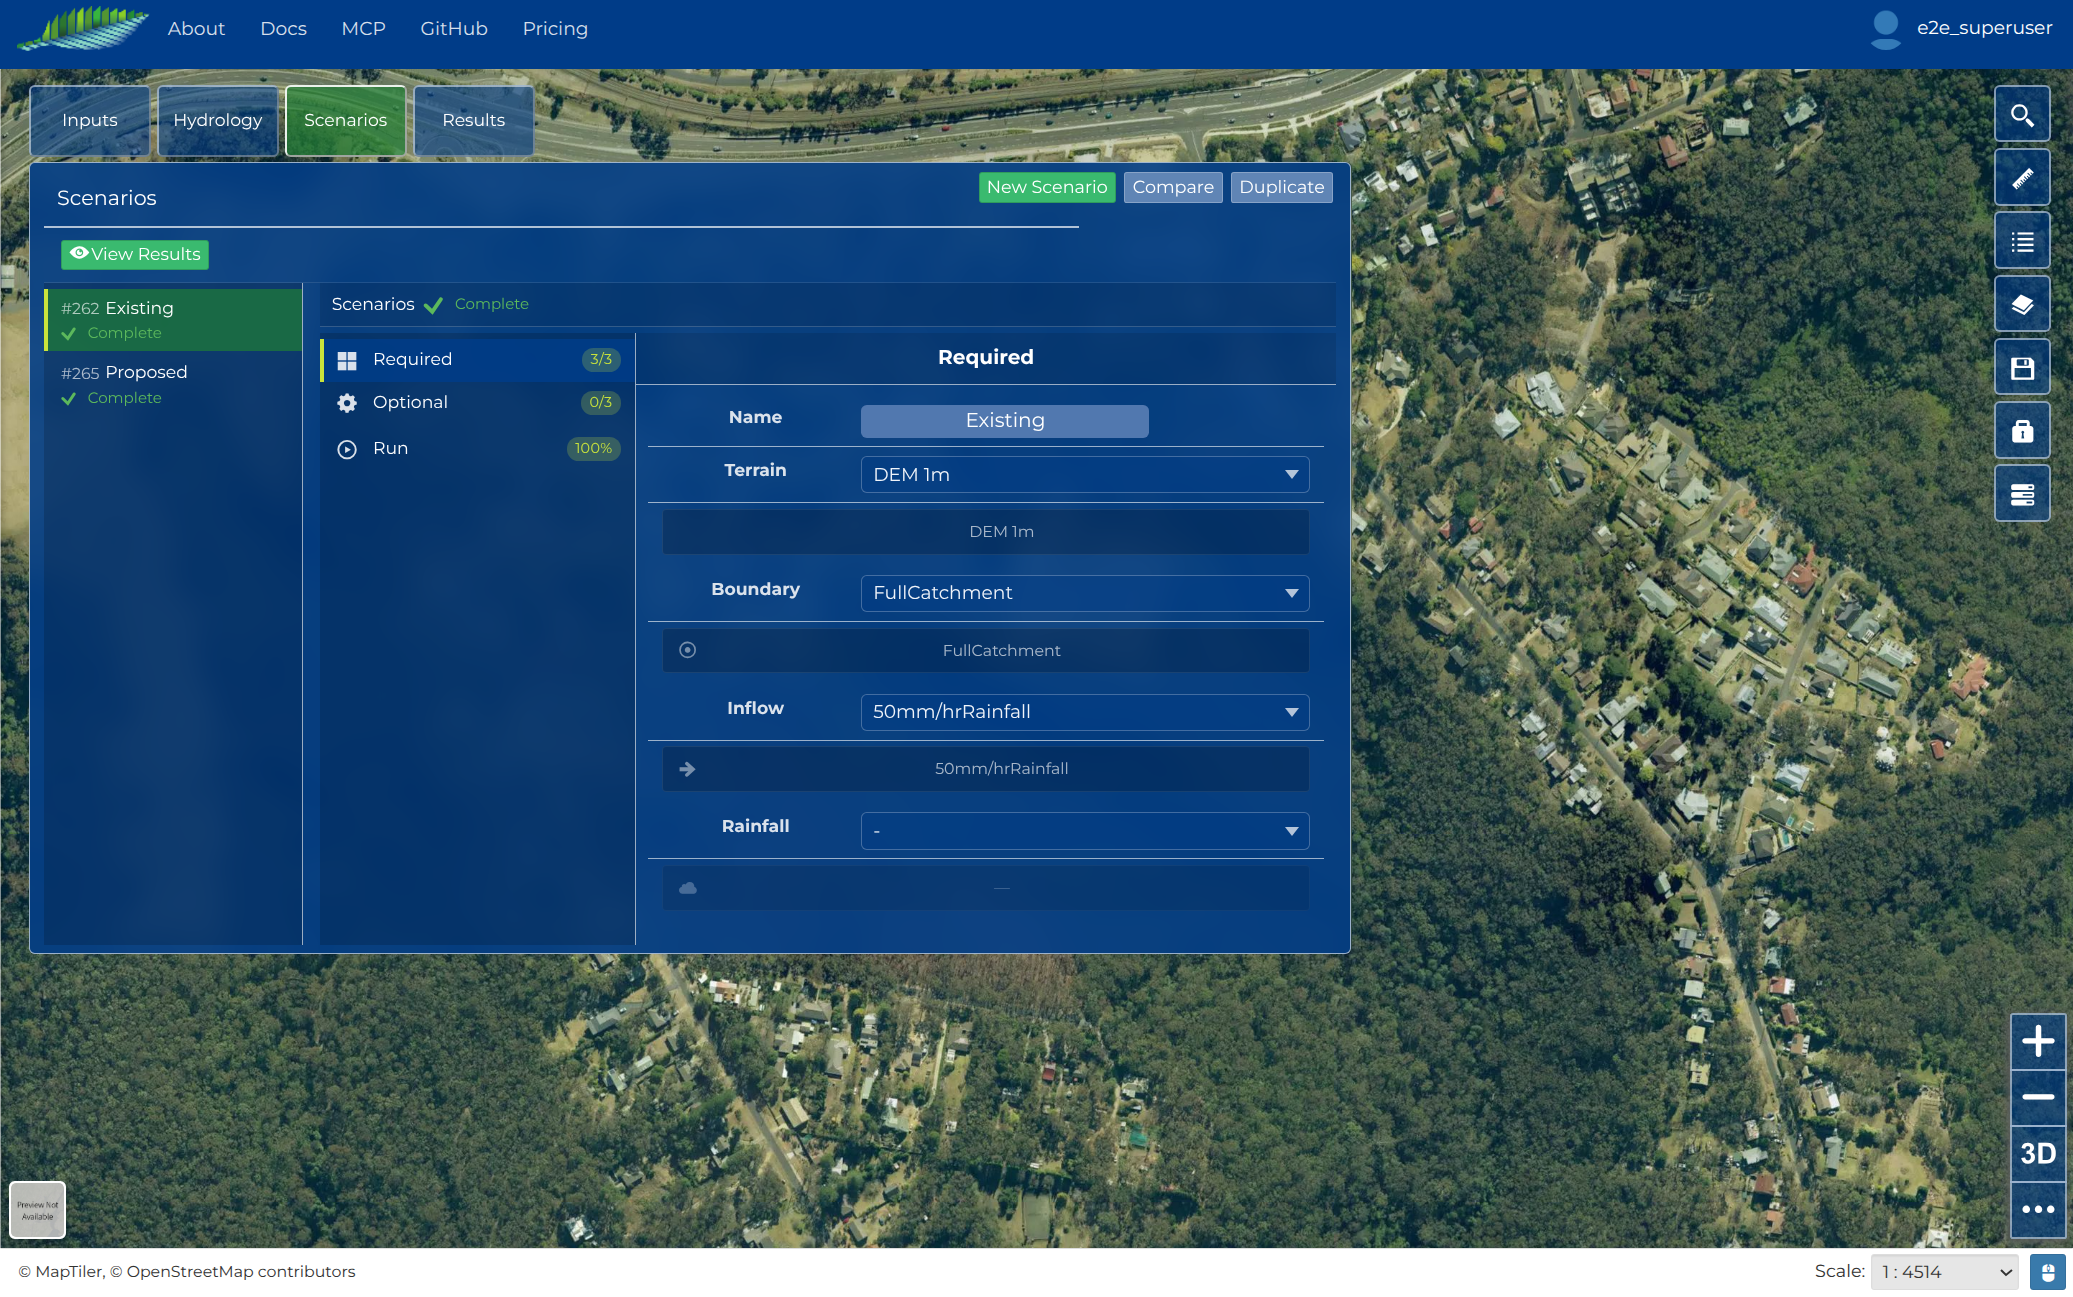
Required
| Field | What it selects |
|---|---|
| Name | The Scenario's name |
| Terrain | The elevation surface to mesh. Only terrains that finished processing are offered |
| Boundary | The boundary layer that closes the domain |
| Inflow | The Inflow layer, if you drew one |
| Rainfall | The Rainfall layer |
Hydrata pre-selects the first available layer for Terrain, Boundary and Inflow. Two of them need your hand:
- Terrain: pick the terrain the merge produced, the one whose title ends in (derived), not either of the two terrains that went into it. See Combine Two Terrains
- Rainfall: it starts empty, and a notice at the top of the panel says the Rainfall layer is drawn but not attached. Pick it
Inflow and Rainfall are one requirement, not two
The section is called Required, but the build only insists on at least one of Inflow and Rainfall: something has to put water into the model. A rainfall-only scenario builds perfectly well, which is what this tutorial does if you skipped drawing an Inflow. Name, Terrain, Boundary, base mesh size and Duration are each required on their own.
Optional
Friction, Structures and Mesh can all be left empty for the tutorial: sensible defaults apply. See Selecting Inputs for what each one does and what happens when it is omitted.
Run settings
Two fields decide how big the job is:
- Base mesh size (m): the target edge length of a mesh triangle, in metres.
Use
5for the tutorial - Duration: entered as Hours and Minutes dropdowns. Use
3hours and0minutes
These are the two values Prerequisites fixes for the tutorial. Keep them and the rest of this tutorial matches what you see, including a Run that costs nothing.
Halving the base mesh size roughly quadruples the triangle count, so it is the main driver of how long a Run takes and what it costs. To add detail in one place without paying for it everywhere, use a mesh region instead of lowering the base mesh size for the whole domain.
There is no hardware to choose. Hydrata picks the compute target itself.
See Configuring Runs for the full list of settings.
Next steps
Next: run your first model.